1
/
of
3
My Store
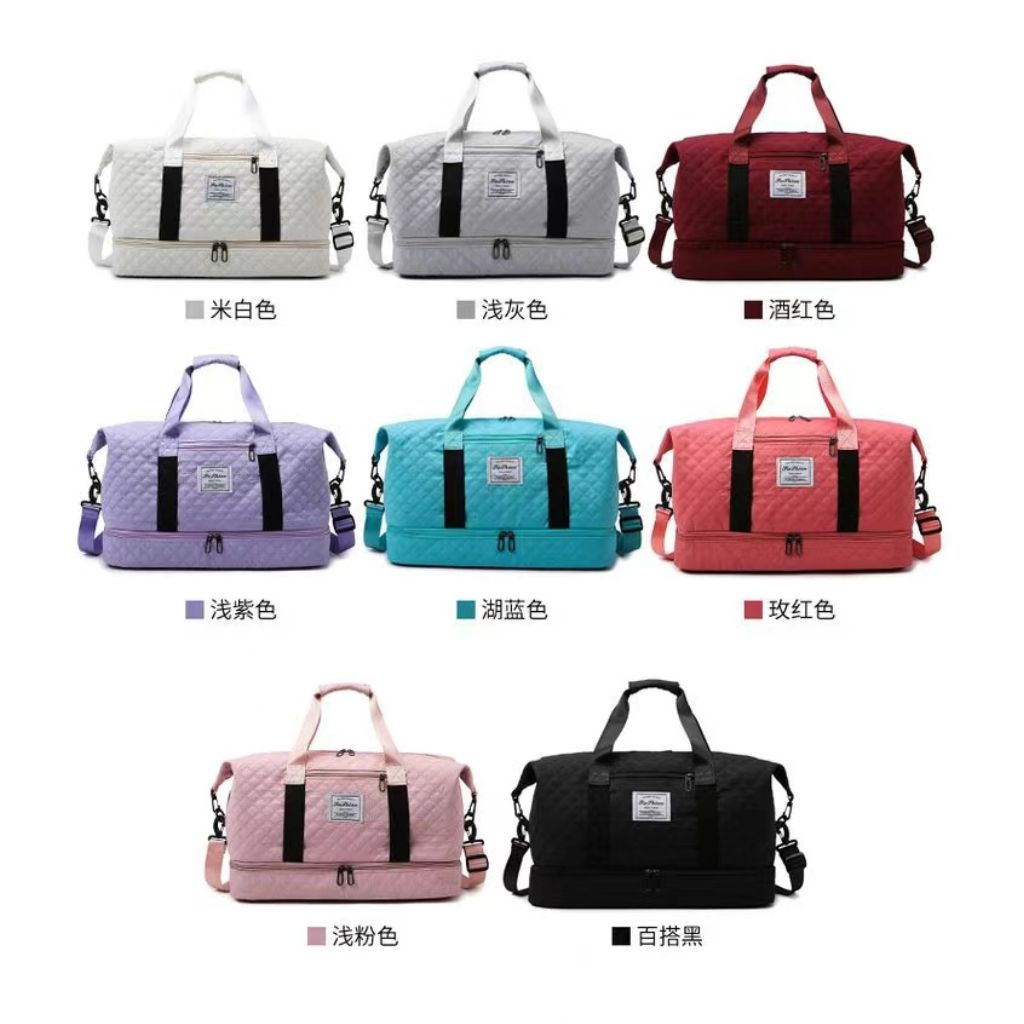
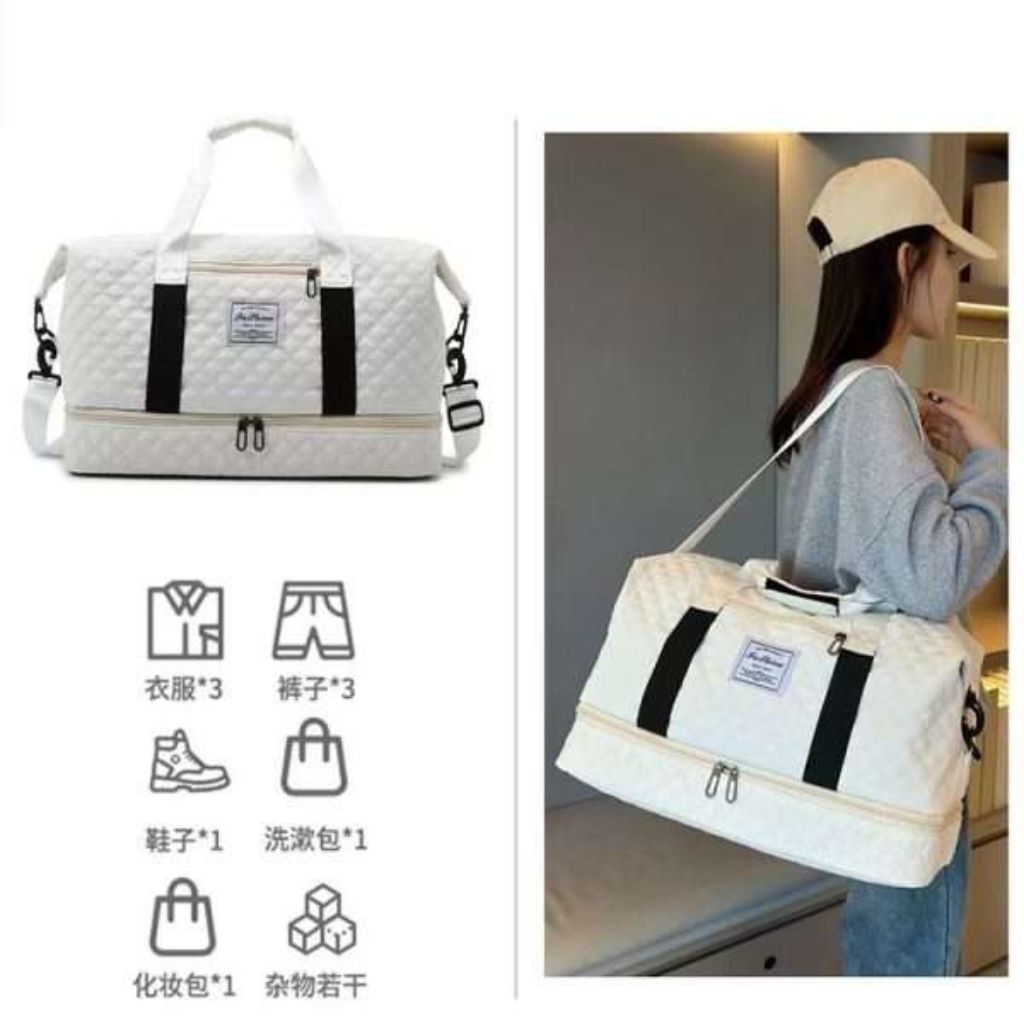
Stitched Duffle Bag
Stitched Duffle Bag
Regular price
R 165.00 ZAR
Regular price
R 225.00 ZAR
Sale price
R 165.00 ZAR
Unit price
/
per
Low stock: 3 left
Couldn't load pickup availability
A stitched duffle bag can be a rewarding sewing project, allowing you to customize the design, size, and features to suit your needs. Here’s a general guide on how to approach making a stitched duffle bag:
Materials Needed:
- Fabric: Choose a durable fabric for the main body of the bag, such as canvas, denim, or heavy-duty nylon. You may also want lining fabric for the inside of the bag.
- Thread: Strong thread that matches or complements your fabric choice.
- Zipper or Closure: Decide on the type of closure you want—either a zipper, drawstring, or another closure method.
- Handles and Straps: Fabric or leather straps for carrying the bag. You can also include a shoulder strap if desired.
- Hardware: Depending on your design, you may need D-rings, sliders, buckles, or other hardware for straps and closures.
- Pattern or Template: You can find duffle bag patterns online or create your own based on the dimensions and features you want.
- Sewing Machine and Tools: A sewing machine is recommended for stitching the bag efficiently. You’ll also need scissors, pins, measuring tape, and an iron for pressing seams.
Steps to Make a Stitched Duffle Bag:
-
Design and Pattern Preparation:
- Choose or create a pattern/template for your duffle bag. This will include dimensions for the main body, handles, straps, and any pockets or compartments.
-
Cutting Fabric:
- Using your pattern, cut out pieces from your main fabric and lining fabric. Be sure to include seam allowances as specified by your pattern.
-
Attach Pockets and Features:
- If your design includes pockets or compartments, sew these onto the appropriate pieces of fabric before assembly.
-
Assemble the Bag:
- Start by sewing the main body pieces together, right sides facing each other. Leave openings for zipper or closure if using one.
-
Add Closure and Straps:
- Attach the zipper or closure method to the top opening of the bag. Sew straps and handles securely to the sides or ends of the bag.
-
Sew Lining and Finish:
- If using a lining, sew the lining pieces together separately, leaving an opening for turning. Insert the lining into the main bag and sew around the top edge to attach.
-
Turn and Finish:
- Turn the bag right-side out through the opening in the lining. Stitch the lining closed by hand or machine.
-
Final Touches:
- Press seams and folds to give the bag a polished look. Attach any additional hardware or decorative elements.
Share


